 Live Chat
3 Steps to a Successful Coding Project
Whether you’re already a pro or a new coding bootcamp student starting your first project, we’re helping you navigate the process.
Sure, developing an idea from scratch isn’t easy, but if you follow these steps, it won’t be as hard as you think.
Step 1: Brainstorm
You’ve probably thought up some pretty cool ideas for a project, or maybe you’ve been holding on to “the one” since before your coding bootcamp started. Either way, brainstorming your ideas (either by yourself or with a pal) is the best way to start a project.
Make a list so you can be sure not to forget any of your million-dollar ideas. If you’re working with a friend, bounce ideas back and forth and see what you come up with. The brainstorming stage is also a good time to turn to your coding community and see any other ideas that are available for an A+ project.
When generating ideas, keep in mind the skills that you might need to bring your project to life so you can make sure that you’re setting yourself up for success. Once you have a pretty solid notion of what you want to do and you’re confident that you can execute, you’re ready to move on to the next step…planning.
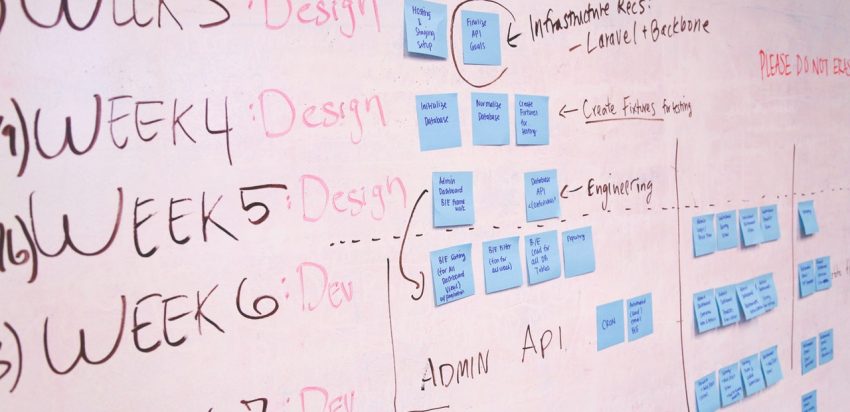
Step 2: Plan
You’ll probably be excited to start your big project, but you should be prepared to take some time to plan the road ahead. Going in blind will only leave room for confusion and a potentially disastrous end result. The first step in devising your plan will be to create a schedule that will ensure you have ample time to complete and perfect your project before its deadline. Breaking down your schedule into blocks for research, writing, testing, etc. is a great way to make sure that your project is staying on track to completion.
During the planning stage, it’s crucial to make sure you are comfortable with the text editor you’ll be using.
Once you’ve decided what your project will be, it’s best if you then design how the final product will look. Sketch it out the old-fashioned way with pen and paper, or do it digitally using a wireframe software. Once you’re able to visualize your goal, you will have a much easier time planning out your code and identifying any extra components you might need. For example, if you’re going to be creating an app, an extra component could be to make sure you’ve registered for a developer account.
To be extra thorough, make a list of all the features of your project. If you’re designing an app or a website, outline how you’d like it to operate and how the user will interact with it. If you’re designing a game, make note of what features the game will include.
Once you think you have everything mapped out, double check that your plan includes everything you need, and you’re ready to move on.
Step 3: Go!
This is where the fun starts. Finally, you get to start laying down the foundations of your idea and turn them into a reality. More often than not, your first shot at writing the code won’t be perfect, so use this draft as a test run to jot down any issues. Then, enlist the help of your handy coding tools, or ask a friend, to help you perfect the flaws.
Once you’ve tested and debugged any issues, take your code and simplify it as much as possible, while maintaining its functionality. Refactoring your code will reduce the file size as well.
After you’ve applied the finishing touches and you’re happy with all your hard work, it’s time for deployment,—or simply submitting it to your bootcamp instructor. Either way, your hard work deserves a pat on the back!
See, starting a coding project isn’t that scary, you just have to make sure you do your planning and research before you dive in head first. Oh, and another tip; just relax. A good coding project takes patience, focus, and a clear head.